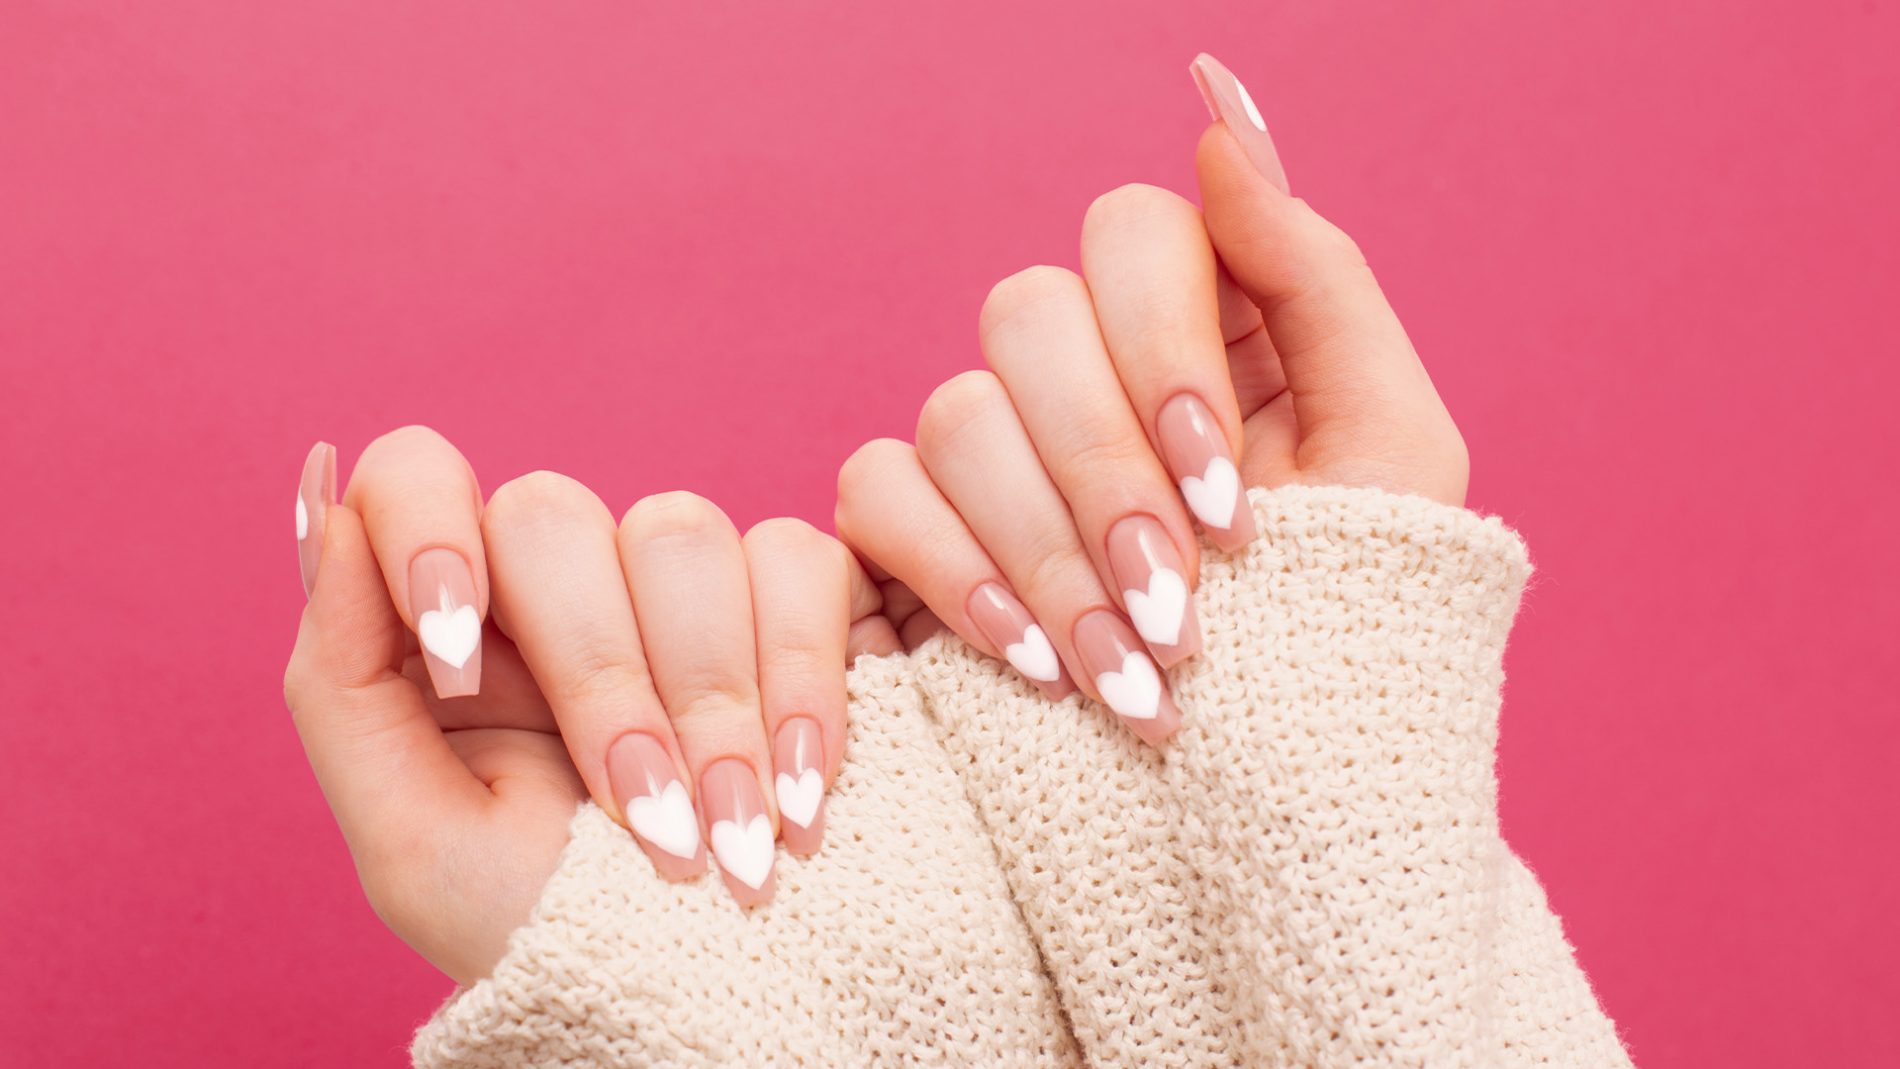
Ready to unleash your inner nail artist and rock some fabulous designs on your fingertips? If you’re looking for some nail-spiration, you’ve come to the right place! In this blog, we’ll show you 8 glam but super easy nail art designs that you can do at home with minimal tools and skills. These designs are so simple, that even a nail art newbie could do them! Let’s begin!
#1 Delightful Dots
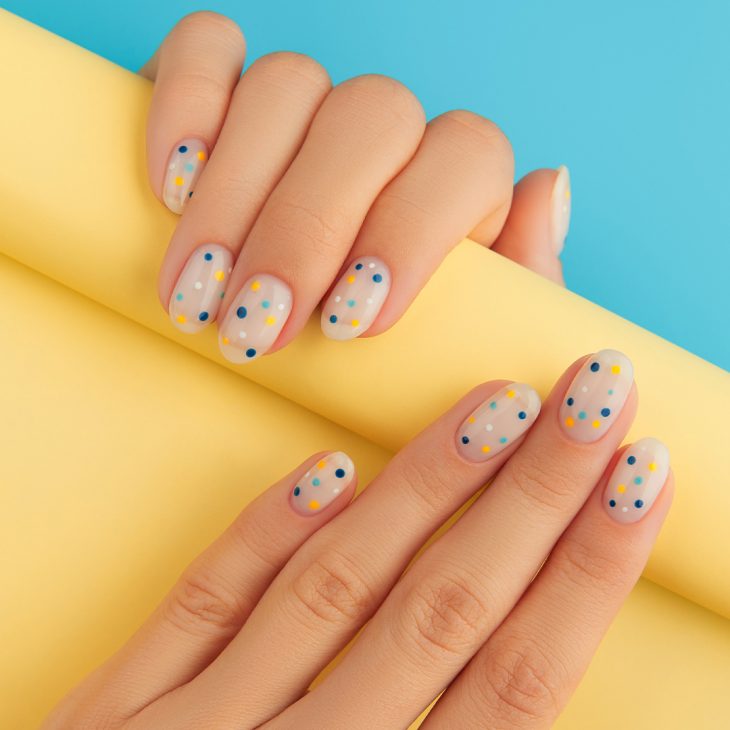
One of the easiest and cutest nail art designs you can do at home is the dotting technique. You can create polka dots, flowers, hearts, or any other shape you like with just a bobby pin or a tailor’s pin. Here’s how to do it:
- Apply a base coat of your favourite nail polish colour and let it dry completely.
- Dip the end of a bobby pin or a tailor’s pin into another nail polish colour and gently dot it on your nails. You can make the dots as big or as small as you want, and use as many colours as you like.
- Seal your design with a clear top coat and enjoy your dotted nails.
#2 Wonderful Watercolours
If you love the look of watercolour paintings, you can recreate them on your nails with this easy technique. You will need some nail polish colours that blend well together, some rubbing alcohol, and a small paintbrush. Here’s how to do it:
- Apply a base coat of white nail polish and let it dry completely.
- Pour some rubbing alcohol into a small container and dip your paintbrush into it.
- Pick up some nail polish colour with your paintbrush and lightly dab it on your nails. The alcohol will make the polish spread and create a watercolour effect.
- Repeat with different colours until you are happy with your design. You can also use a toothpick or a bobby pin to swirl the colours together for more variation.
- Seal your design with a clear top coat and admire your watercolour nails.
#3 Marvellous Marble
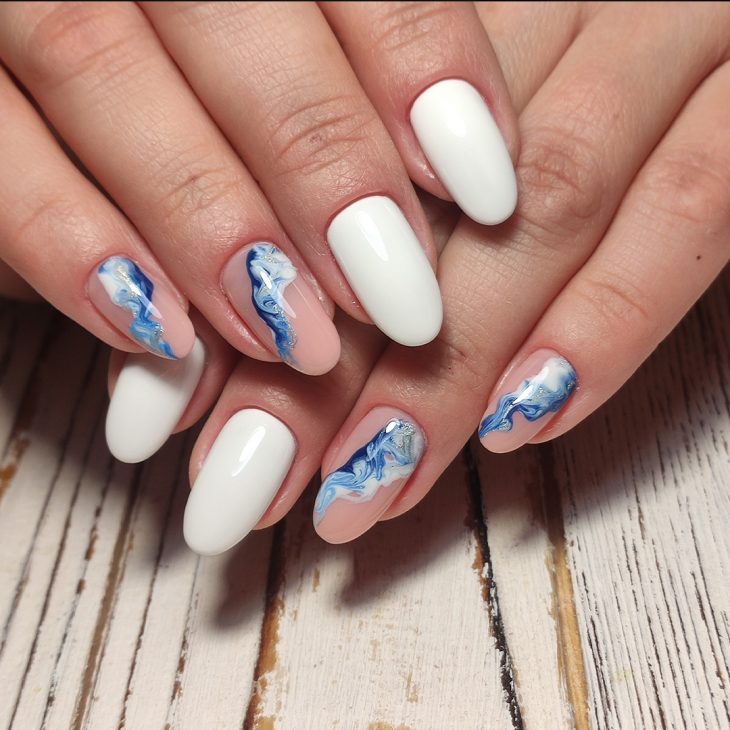
Marble nails are a trendy and sophisticated way to add some flair to your nails. You can achieve this look with some water, a small cup, and some nail polish colours that contrast well with each other. Here’s how to do it:
- Apply a base coat of your desired nail polish colour and let it dry completely.
- Fill a small cup with room temperature water and drop some nail polish colours into it. You can use a toothpick or a bobby pin to swirl the colours together and create a marble pattern.
- Dip your nail into the water and gently lift it out. You will see the marble design transferred onto your nail.
- Repeat with the rest of your nails and clean up any excess polish around your nails with a cotton swab dipped in nail polish remover.
- Seal your design with a clear top coat and flaunt your marble nails.

#4 Fabulous Foil
Foil nails are a fun and easy way to add some sparkle and shine to your nails. You can use any kind of foil you have at home, such as aluminium foil, candy wrappers, or nail art foil. Here’s how to do it:
- Apply a base coat of your favourite nail polish colour and let it dry completely.
- Cut out some small pieces of foil that fit your nails and apply some clear nail polish or glue on top of them.
- Press the foil pieces onto your nails and smooth them out with your fingers or tweezers.
- Trim off any excess foil around your nails with scissors or a nail file.
- Seal your design with a clear top coat and enjoy your foil nails.

#5 Splendid Splatter
Splatter nails are a fun and messy way to create a colourful and artistic look on your nails. You can use any nail polish colours you like, and a straw or a spray bottle to create the splatter effect. Here’s how to do it:
- Apply a base coat of white or black nail polish and let it dry completely.
- Place some paper or plastic around your nails to protect your skin and surface from the splatter.
- Pour some nail polish colours into small containers and dip a straw or a spray bottle into them.
- Blow or spray the nail polish onto your nails and create a splatter pattern. You can use one or more colours for this step.
- Remove the paper or plastic and clean up any excess polish around your nails with a cotton swab dipped in nail polish remover.
- Seal your design with a clear top coat and show off your splatter nails.

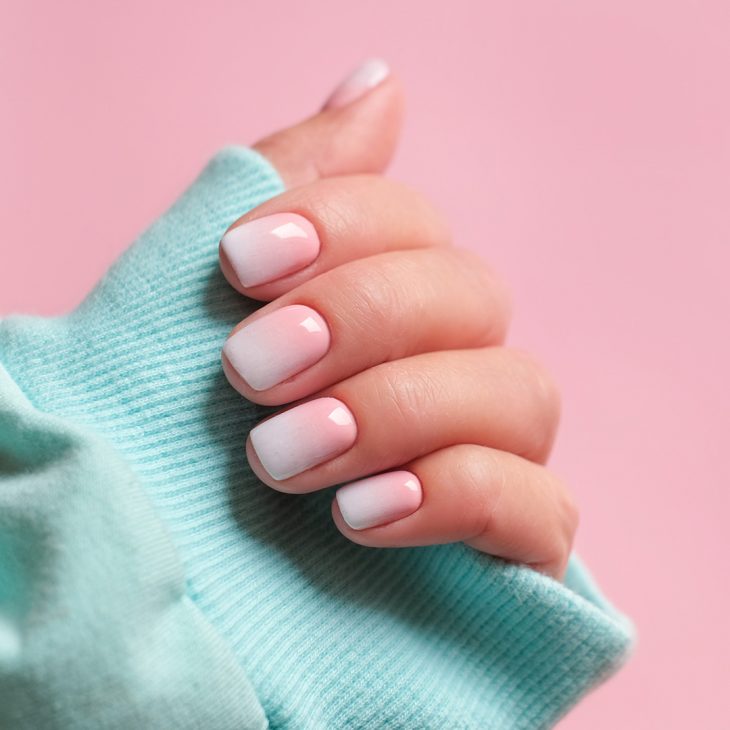
#6 Gorgeous Gradient
Gradient nails are a beautiful and elegant way to create an ombre effect on your nails. You can use any nail polish colours that blend well together, and a makeup sponge or a cotton pad to create the gradient effect. Here’s how to do it:
- Apply a base coat of the lightest nail polish colour you want to use and let it dry completely.
- Cut out a small piece of a makeup sponge or a cotton pad and apply some of the nail polish colours you want to use on it. You can use two or more colours for this step.
- Gently dab the sponge or pad onto your nails and create a gradient effect. You can repeat this step until you are satisfied with the intensity of the colours.
- Clean up any excess polish around your nails with a cotton swab dipped in nail polish remover.
- Seal your design with a clear top coat and admire your gradient nails.
#7 Striking Stripes
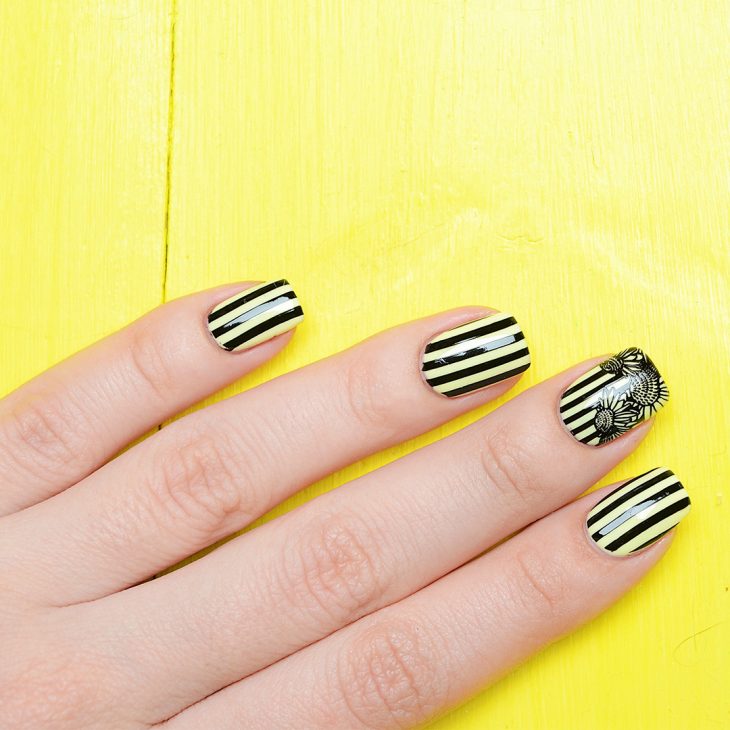
Stripes are a classic and chic way to decorate your nails. You can use any nail polish colours you like, and some tape or stickers to create the stripe effect. Here’s how to do it:
- Apply a base coat of your desired nail polish colour and let it dry completely.
- Cut out some thin strips of tape or stickers and place them on your nails in the pattern you want. You can use straight, diagonal, or curved stripes for this step.
- Apply another nail polish colour over the tape or stickers and let it dry completely.
- Peel off the tape or stickers and reveal your stripe design.
- Seal your design with a clear top coat and rock your stripe nails.
Wrap-up
You don’t need to spend a lot of money or time to create stunning designs on your nails. Just use simple tools and products that you have at home and don’t forget to experiment with different colours, patterns, and techniques to create unique and original designs. The only limit is your imagination!
FAQs
Q1. How long does nail art last?
A. The longevity of your nail art depends on several factors, such as the quality of your nail polish, the type of your design, and how well you take care of your nails. Generally, nail art can last from a few days to a few weeks, depending on how often you wash your hands, do household chores, or expose your nails to water or chemicals.
Q2. How do you remove nail art?
A. The best way to remove nail art is to use a cotton ball soaked in acetone-based nail polish remover and gently rub it on your nails until the polish comes off.
Q3. How do you prevent nail art from chipping or peeling?
A. There are some tips you can follow to prevent your nail art from chipping or peeling, such as:
- Make sure your nails are clean and dry before applying any nail polish or design.
- Apply thin and even coats of nail polish and let each coat dry completely before applying the next one.
- Use a good quality base coat and top coat to protect your nails and seal your design.
- Avoid using too much glue or adhesive when applying stickers, foil, or lace on your nails, as this can cause them to peel off easily.
- Avoid exposing your nails to extreme temperatures, water, or chemicals that can weaken your nail polish.

