If you’ve ever wondered how celebrities and influencers achieve that flawless, sculpted look, the answer is contouring. Contouring is a makeup technique that uses light and dark shades to enhance your natural features and create the illusion of depth and dimension. It can help you define your cheekbones, slim your nose, lift your eyes, and more.
But contouring can also be intimidating for beginners, especially if you don’t know what products to use, where to apply them, or how to blend them. Don’t worry, we’ve got you covered with this ultimate contouring guide for beginners. Ready to get started? Let’s go!
What You Need to Contour
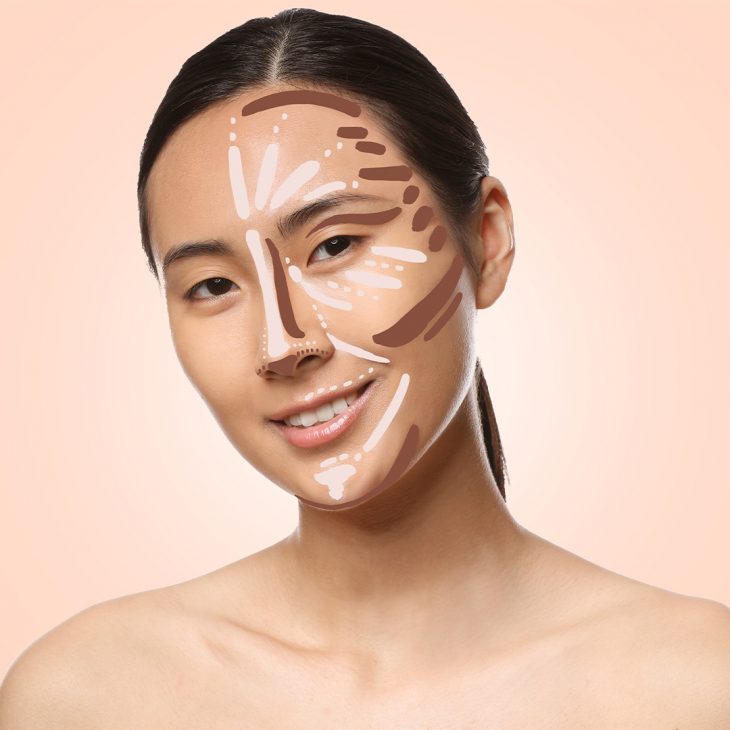
Before you start contouring, you’ll need a few things:
- A foundation that matches your skin tone and undertone. This will create a smooth and even base for your contour.
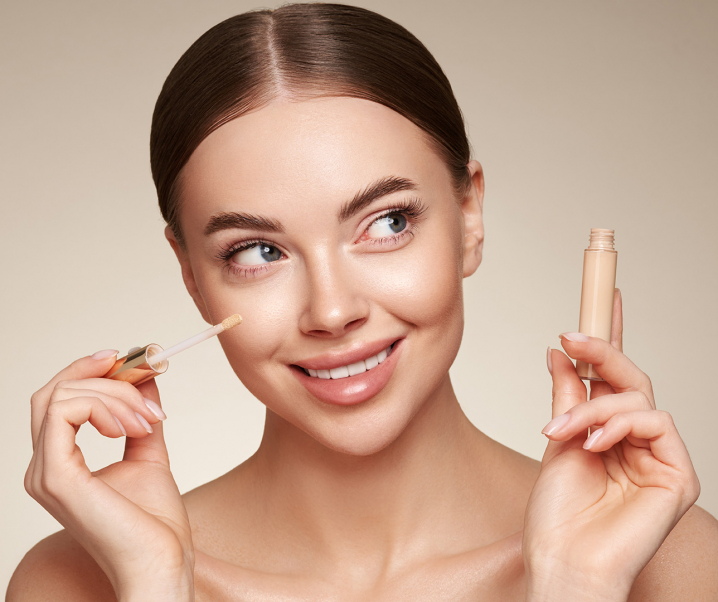
- A concealer or foundation that is two to three shades lighter than your skin tone. This will be your highlighter, which will brighten and lift the areas where you apply it.
- A concealer or foundation that is two to three shades darker than your skin tone. This will be your contour, which will create shadows and depth where you apply it.
- A beauty blender or a makeup sponge. This will help you blend your highlighter and contour seamlessly into your skin.
- A makeup brush or a small sponge. This will help you apply and blend your highlighter and contour on smaller areas, such as your nose and eyes.
- A setting powder or spray. This will help you lock in your contour and make it last longer.
You can also use other products to contour, such as bronzer, highlighter, or eyeshadow, as long as they are the same texture (powder or cream) as your foundation. Just make sure they are not too shimmery or glittery, as this can ruin the effect of contouring.
How to Contour Your Face in 6 Easy Steps
#1 Apply foundation all over your face. Use a beauty blender or a makeup sponge to blend it well into your skin. You can also use a primer before applying foundation to make your makeup last longer and look smoother.
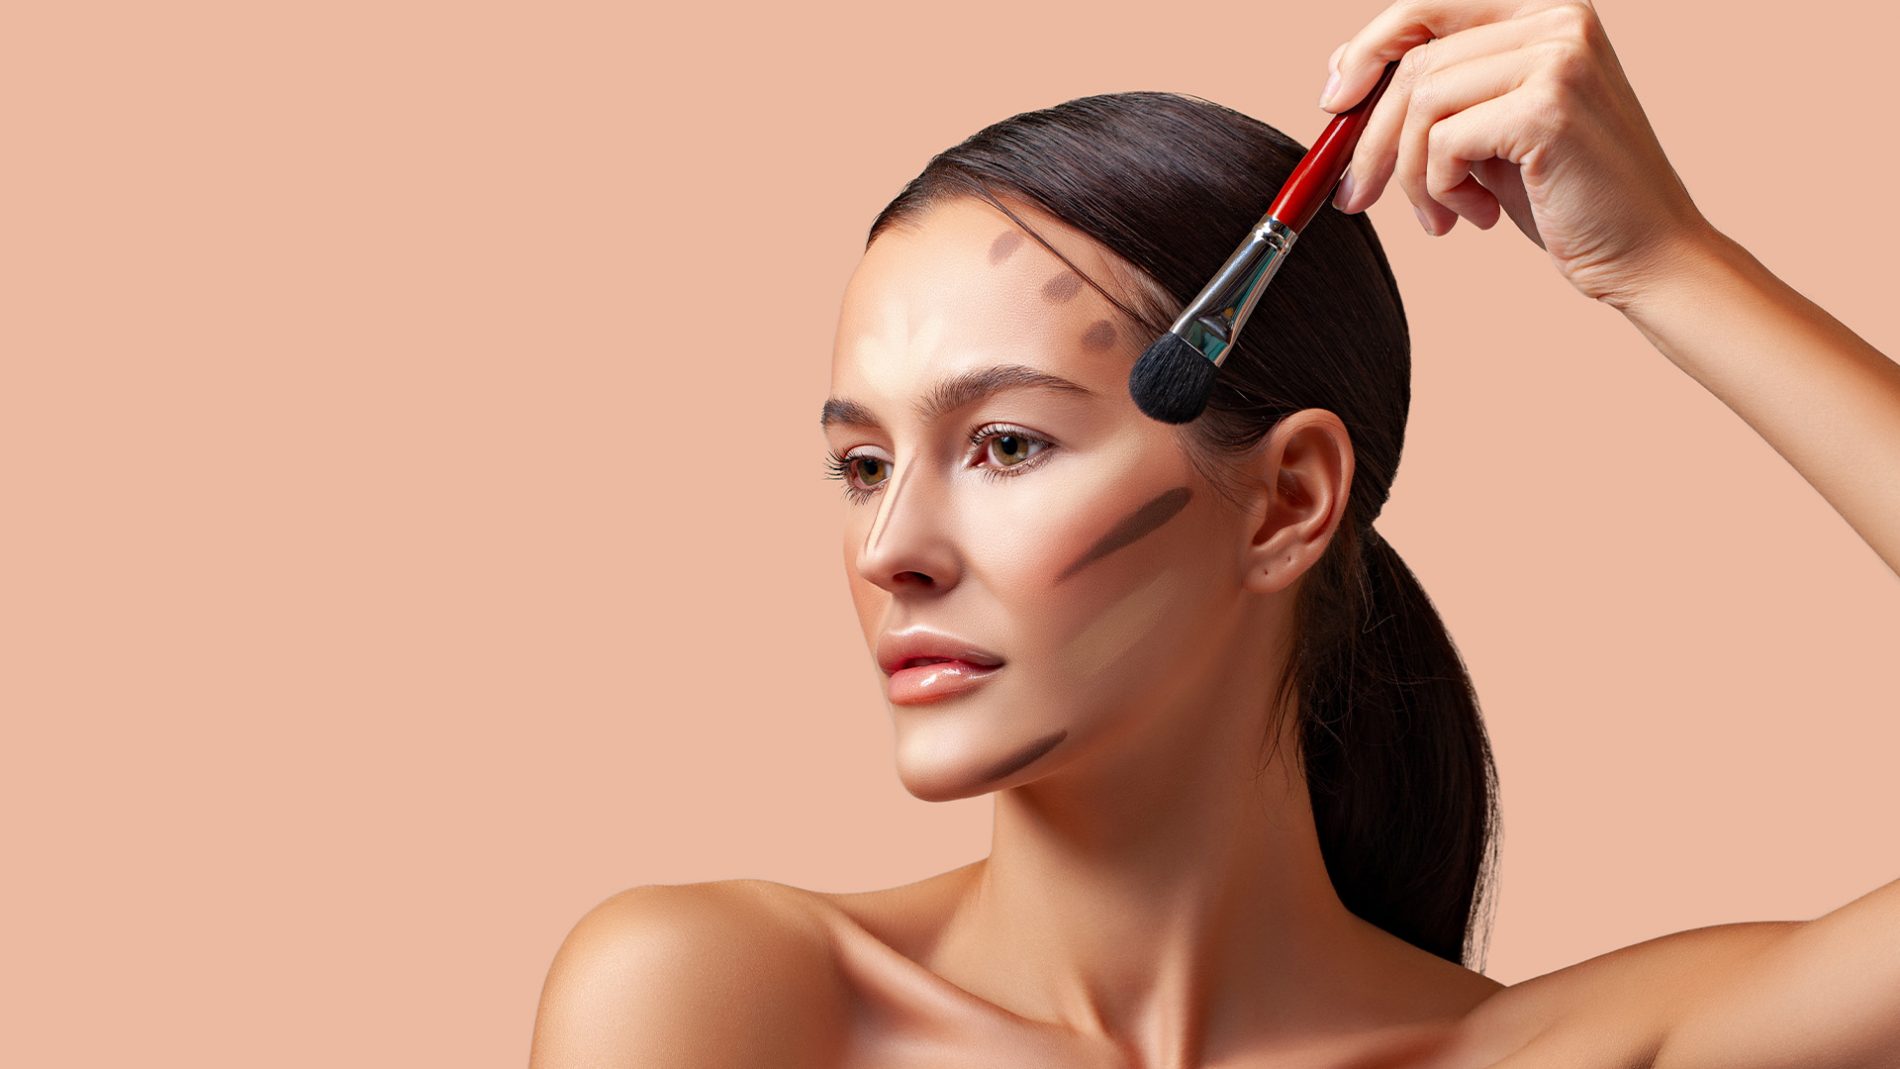
#2 Highlight the high points of your face. Use a lighter concealer or foundation to draw lines on the tops of your cheekbones, the centre of your forehead, the bridge of your nose, the cupid’s bow of your lips, and the centre of your chin. You can also apply some highlighter under your eyes, in between your brows, and on the inner corners of your eyes to brighten them up.

#3 Apply contour to the low points of your face. Use a darker concealer or foundation to draw lines under your cheekbones, along your jawline, on the sides of your nose, on the temples of your forehead, and under your chin. You can also apply some contour on the crease of your eyelids and under your lower lash line to define them.
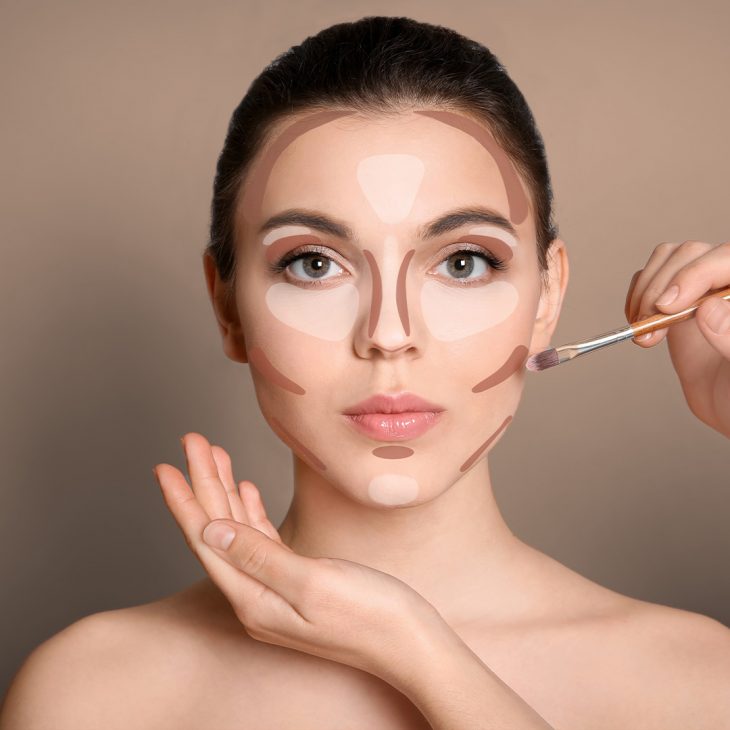
#4 Blend everything together. Use a beauty blender or a makeup sponge to pat and blend the highlighter and contour into your skin. Don’t rub or swipe them, as this can remove the product or create harsh lines. Start with the lighter shade first, then move on to the darker shade. Make sure there are no visible edges or patches of colour on your face.
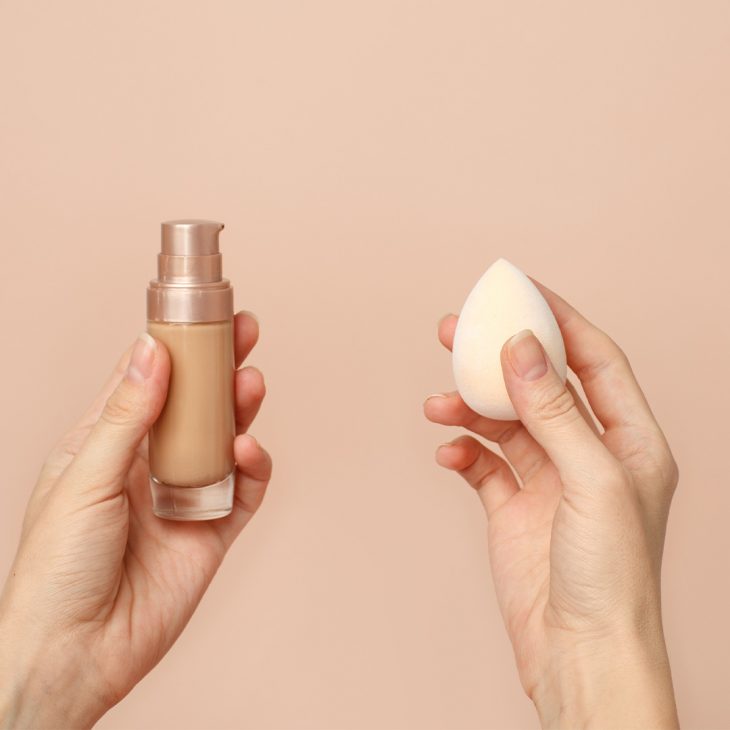
#5 Set your contour with powder or spray. Use a translucent setting powder or spray to lightly dust or mist over your face. This will help you seal in your contour and make it last longer. You can also use a coloured powder or spray that matches your skin tone or undertone for extra coverage.
#6 Add some finishing touches. If you want to add some extra glow or colour to your face, you can use a shimmery highlighter or blush on top of your contour. Just make sure they are not too overpowering or contrasting with your contour.

How to Contour for Your Face Shape
One of the most important things to remember when contouring is that there is no one-size-fits-all approach. Depending on the shape of your face, you may want to emphasise or minimise certain features with contouring.

Here are some general tips on how to contour for different face shapes:
- Round face: If you have a round face, you may want to create more definition and angles with contouring. Apply more contour on the sides of your forehead, under your cheekbones, along your jawline, and under your chin. Apply less highlighter on the centre of your forehead and chin, as this can make them look wider.
- Oval face: If you have an oval face, you may want to balance out the length and width of your face with contouring. Apply more contour on the temples of your forehead and under your chin. Apply less contour on the sides of your nose and under your cheekbones, as this can make them look narrower.
- Square face: If you have a square face, you may want to soften the edges and corners of your face with contouring. Apply more contour on the corners of your forehead, under your cheekbones, and along your jawline. Apply less highlighter on the centre of your forehead and chin, as this can make them look sharper.
- Heart face: If you have a heart face, you may want to reduce the width of your forehead and chin with contouring. Apply more contour on the sides of your forehead and under your chin. Apply less contour on the sides of your nose and under your cheekbones, as this can make them look wider.
- Diamond face: If you have a diamond face, you may want to enhance the width of your forehead and chin with contouring. Apply more highlighter on the centre of your forehead and chin. Apply less contour on the temples of your forehead and along your jawline, as this can make them look narrower.
Wrap-Up
Contouring can seem complicated at first, but once you master the basics, it can be a fun and easy way to transform your look. All you need are some simple products, tools, and techniques to create shadows and light on your face.
FAQs
Q1. What is the difference between contouring and bronzing?
A. Contouring is a technique that uses light and dark shades to create shadows and depth on your face. Bronzing is a technique that uses warm shades to add warmth and colour to your face. You can use both techniques together, but make sure you apply bronzer after contouring, and only on the areas where the sun would naturally hit your face, such as the forehead, cheeks, nose, and chin.
Q2. What is the best way to blend contour?
A. The best way to blend contour is to use a beauty blender or a makeup sponge that is dampened with water or setting spray. This will help you create a smooth and seamless transition between the light and dark shades.
Q3. How do you choose the right shade for contouring?
A. The right shade for contouring depends on your skin tone and undertone. You want to choose a shade that is two to three shades darker than your skin tone, but still within the same undertone family.

