Tired of battling frizz every time you step out the door? Ditch the frustration and achieve sleek, manageable hair with at-home keratin treatments!
Keratin, the natural protein found in hair, is renowned for its ability to smooth, strengthen, and restore hair to its natural glory. This blog will explore how keratin benefits your hair and how you can achieve salon-quality results with DIY treatments without the hefty price tag.
What Is Keratin Treatment?
Your hair contains a protein called keratin, which keeps it strong, shiny, and gorgeous.
But sometimes, life throws a curveball, and your hair loses its keratin mojo, leaving it frizzy, dull, and prone to breakage. That’s where keratin treatment comes in to save the day!
This treatment benefits the hair by replenishing its keratin levels, making it smoother, silkier, and more manageable.
Keratin Hair Treatment Benefits
The benefits of keratin are plentiful:
- Reduced Frizz: Say goodbye to uncontrollable frizz. Keratin flattens the hair cuticle, leaving it sleek and shiny.
- Enhanced Manageability: Brushing and styling become a breeze. Keratin tames flyaways and tangles, making your hair easier to manage.
- Healthy Shine: A smooth cuticle reflects light better, resulting in hair that looks vibrantly healthy and glossy.
- Potential Hair Growth: By strengthening hair, keratin treatments can minimise breakage, promoting longer, healthier hair growth.
How To Do Keratin Treatment At Home?
Here’s a step-by-step guide to achieving salon-worthy results from the comfort of your bathroom. So, try keratin at home and enjoy smooth and shiny hair.
#1 Wash Your Hair
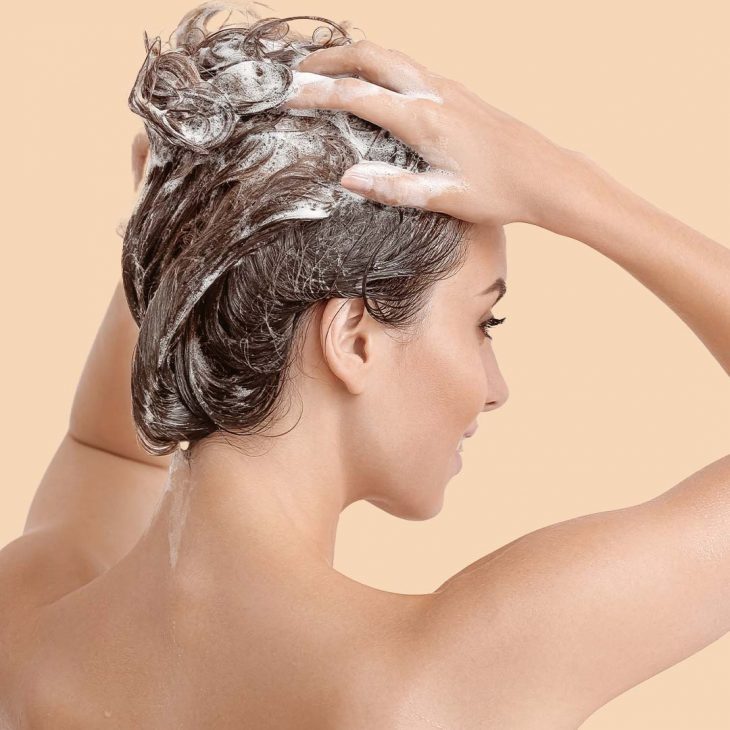
Start by washing your hair with a clarifying shampoo to remove any product buildup and open the hair cuticle.
#2 Dry It Gently
Once it is squeaky clean, gently towel-dry it until it’s damp but not dripping wet.

#3 Apply the Keratin Treatment
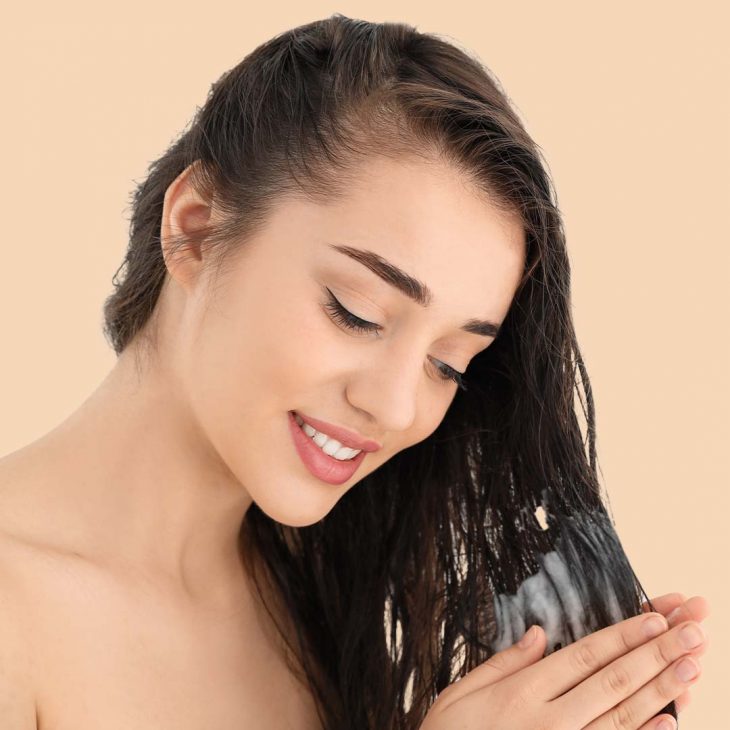
Divide your hair into sections and apply the keratin cream to the hair from root to tip, coating each strand evenly.
#4 Let It Sit
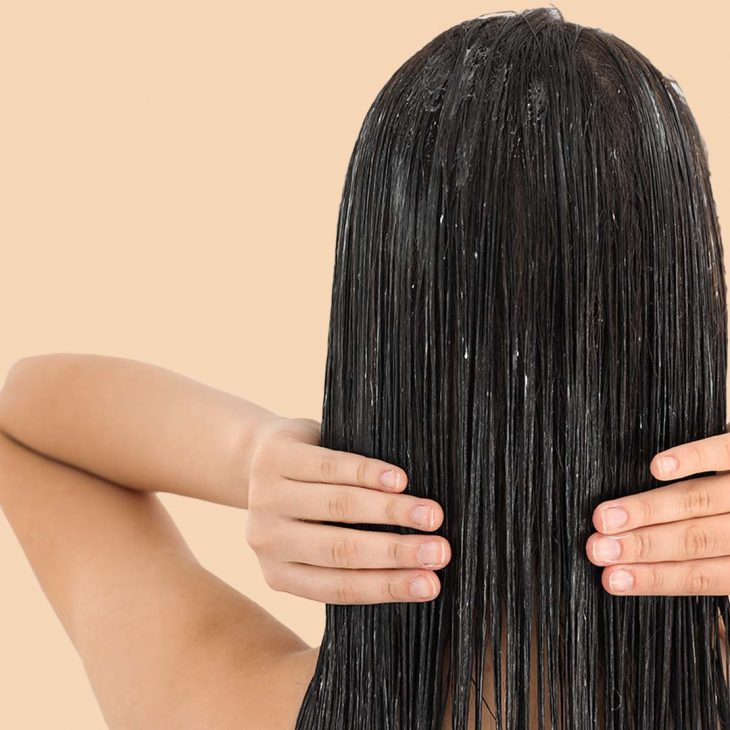
Allow the keratin treatment to remain on your hair for the recommended duration, typically 30 minutes to an hour.
#5 Rinse and Dry
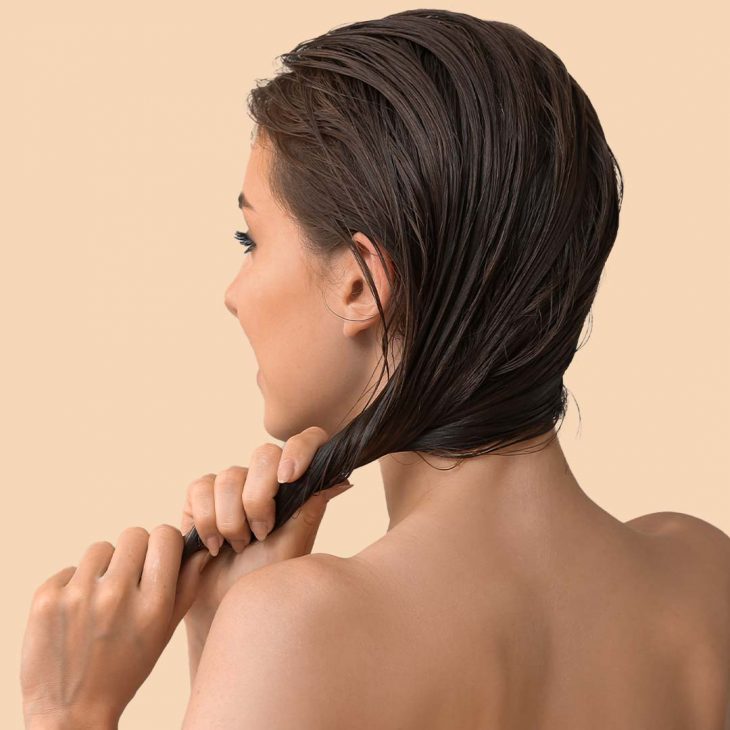
Rinse out the keratin treatment with lukewarm water, then blow-dry your hair.
#6 Seal the Deal
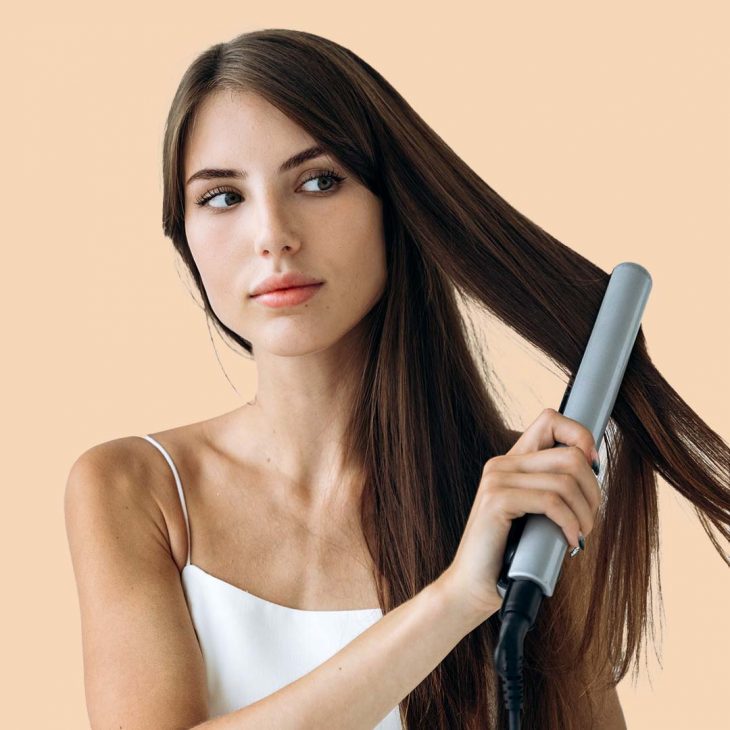
To lock in the goodness, run a flat iron through your hair in small sections, smoothing out any kinks and sealing the keratin into the hair shaft.
Product Suggestions To Add To Your Keratin Treatment Kit
Now that you’re a keratin treatment pro, it’s time to stock up on the essentials. Here are a few must-have products to add to your DIY keratin treatment kit:
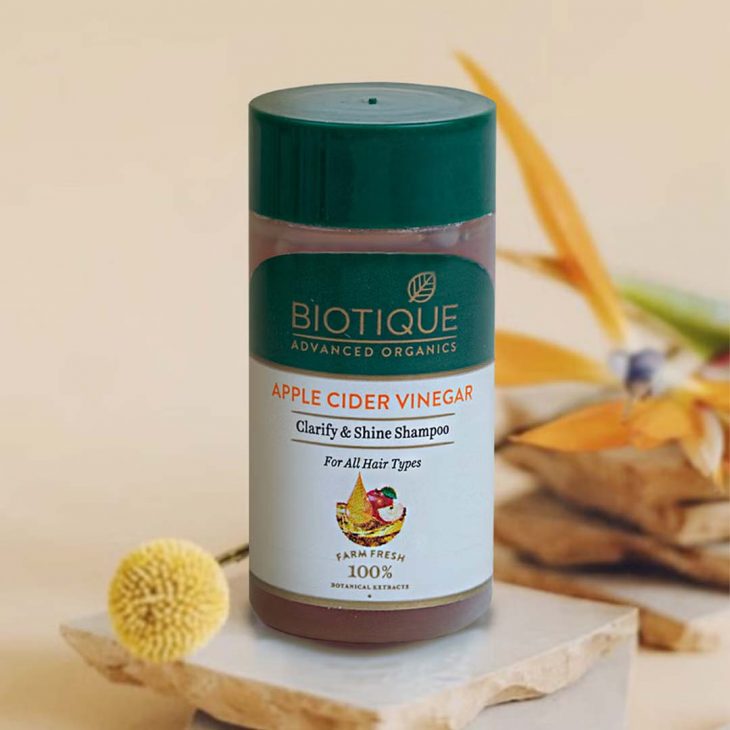
#1 Biotique Apple Cider Vinegar Clarify & Shine Shampoo
Get ready to give your locks the VIP treatment with Biotique Apple Cider Vinegar Clarify & Shine Shampoo! This powerhouse shampoo gently detoxifies and revitalises your hair and scalp, leaving you with healthy-looking strands that shine brighter than the sun. It’s 100% natural, chemical-free, cruelty-free, dermatologically tested, and comes in recyclable packaging.
#2 Sevaen Professional Keratin Hair Spa Cream
The Sevaen Professional Hair Spa formula immediately makes hair smooth and shiny, stopping frizz and keeping it that way. This keratin cream for hair also helps reduce frizz and control flyaway hair. Silky hair is easier to untangle and breaks less, making it look healthy.

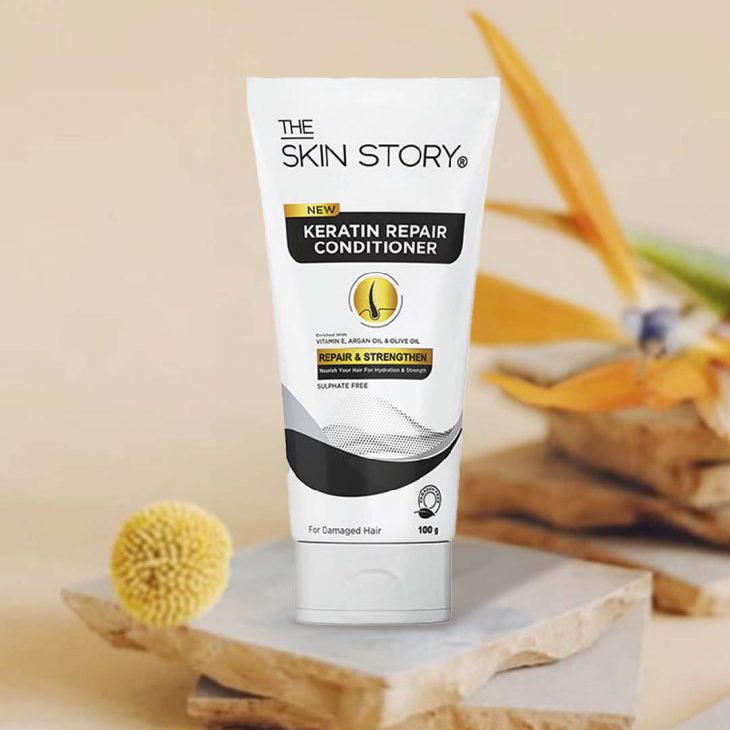
#3 The Skin Story Sulphate Free Keratin Conditioner
This sulphate-free keratin conditioner contains good stuff like pseudo-ceramides, Argan Oil, Olive Oil, and Vitamin E. It swiftly repairs and smoothens your hair, banishing frizz and pleasing your scalp. It has nutrients that strengthen your roots, seal cuticles, and help hair grow faster.
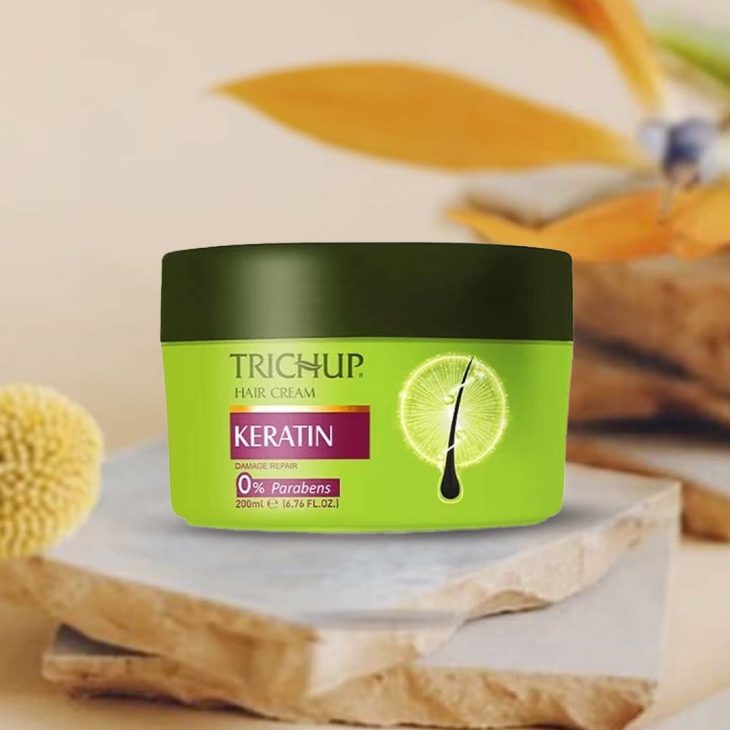
#4 Trichup Keratin Hair Cream
Packed with Keratin protein, Trichup Keratin Hair Cream works wonders by forming a protective layer over your hair that strengthens and shines while taming frizz. One of the best keratin treatment products, it keeps your hair sleek and manageable with added conditioners.
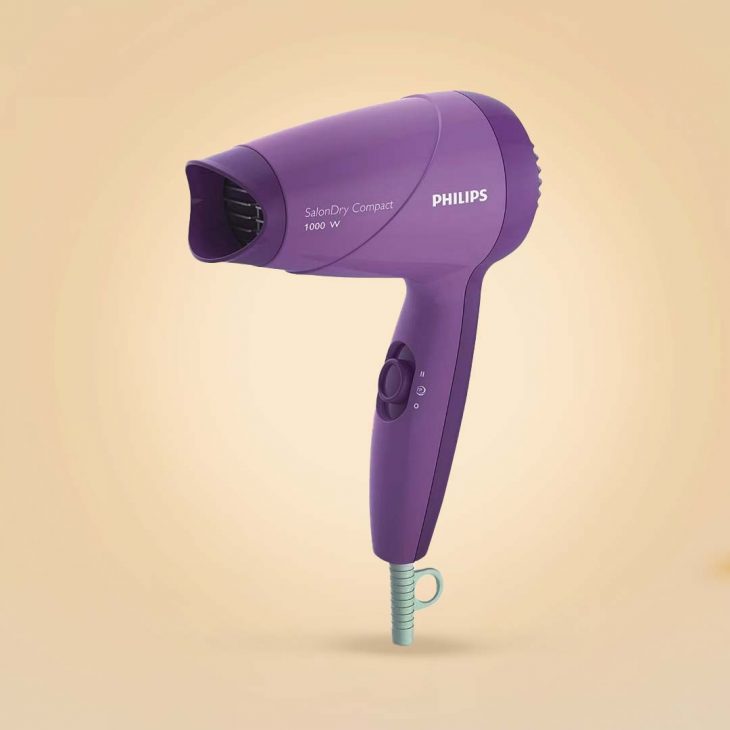
#5 Philips Hair Dryer
The Philips Hair Dryer is smartly designed to be easy to use and not heavy. It has a thermoprotect temperature setting to dry your hair immediately without getting too hot. It’s made to be easy to handle and small for storing comfortably. It even has a rubber hook for hanging it up.
Wrap-Up
Embracing DIY keratin at home is a game-changer for anyone seeking to conquer frizzy hair. With simple ingredients and easy-to-follow steps, you can achieve salon-worthy results without breaking the bank.
So, why wait? Say goodbye to frizzy hair and hello to confidence with your newfound DIY keratin treatment expertise.


