Have you ever wondered why your makeup looks amazing in person, but not so great in photos? Or why do some people always seem to have flawless selfies, while yours look dull and washed out? If you want to level up your Instagram game and get more likes and comments on your posts, you need to learn how to do photoshoot makeup that works for the camera.
In this article, we’ll show you how to do photoshoot makeup that will make you look stunning in any photo. So, let’s dive in!
Why Does Your Makeup Look Different in Photos?
Before we dive into the tips for photoshoot makeup, let’s understand why your makeup looks different in photos than in real life. There are several reasons for this, but the main one is lighting. Lighting affects how your makeup looks in terms of colour, contrast, and texture. Depending on the type and direction of light, your makeup can look brighter or darker, warmer or cooler, smoother or rougher. Natural light, for example, tends to make your makeup look more natural and soft, while artificial light can make it look harsher and more dramatic.
Another reason why your makeup looks different in photos is the camera itself. Cameras capture images differently than our eyes do. They have limitations in terms of resolution, focus, and colour accuracy. They also flatten the image and reduce the depth of field, which can make your face look wider or narrower than it really is.
To compensate for these factors, you need to adjust your makeup accordingly. You need to create more definition and dimension on your face, use colours that suit your skin tone and the lighting conditions, and apply products that have a matte or satin finish. These steps will help you create a balanced and flattering look that will translate well on camera.
Tips For Picture-Perfect Makeup
#1 Prep Your Skin
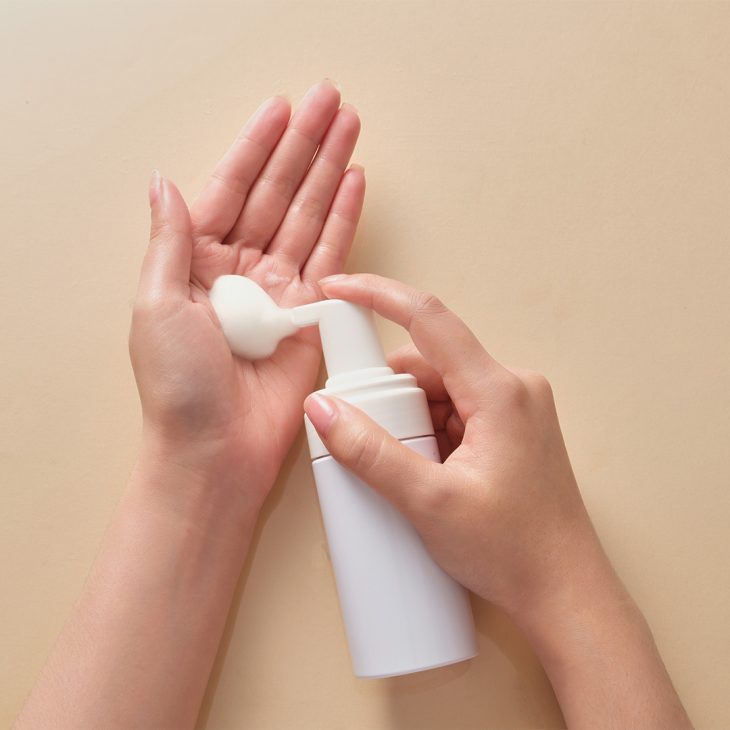
The first step to any good makeup look is prepping your skin. This will ensure that your makeup goes on smoothly and lasts longer. Start by cleansing your face with a gentle cleanser that suits your skin type. Then apply a toner to balance your skin’s pH level and remove any traces of dirt or oil. Next, moisturise your skin with a lightweight lotion or cream that hydrates your skin without making it greasy.
Prepping your skin also involves exfoliating and masking once or twice a week. Exfoliating removes dead skin cells and impurities that can clog your pores and make your skin look dull. Masking nourishes your skin with vitamins and minerals that can improve its texture and appearance. Choose an exfoliator and a mask that targets your specific skin concerns, such as dryness, oiliness, acne, or ageing.
#2 Primer Is A Must
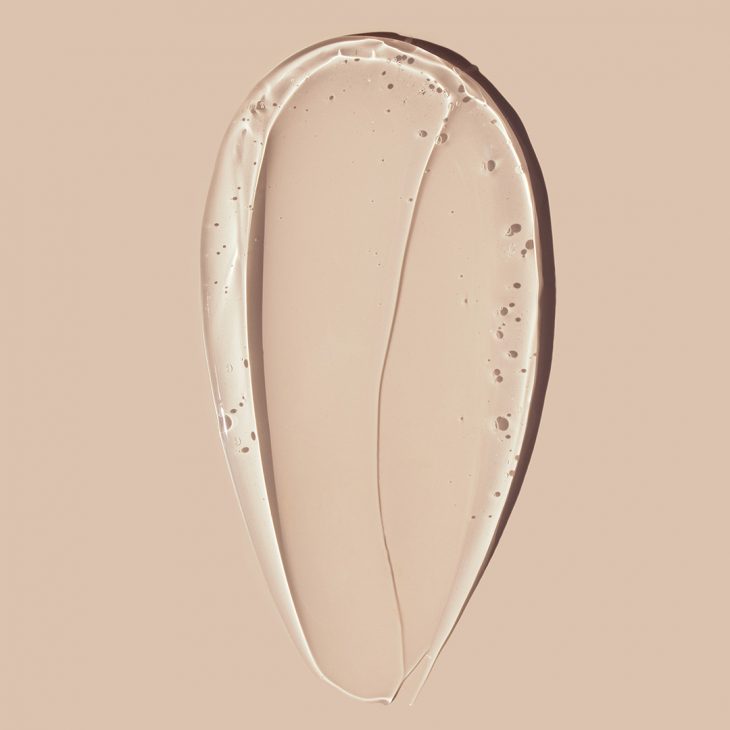
After prepping your skin, the next step is applying a primer. A primer is a product that creates a smooth base for your makeup and helps it last longer. It also fills in any pores, fine lines, or wrinkles that can make your makeup look cakey or uneven.
There are different types of primers for different purposes. For example, there are primers that mattify oily skin, brighten dull skin, colour-correct redness or discolouration, or blur imperfections. Choose a primer that suits your skin type and needs. While applying primer, focus on the areas where you need more coverage or where your makeup tends to fade or crease, such as the T-zone, the chin, the nose, and the eyelids.
#3 Less Is More When It Comes To Coverage
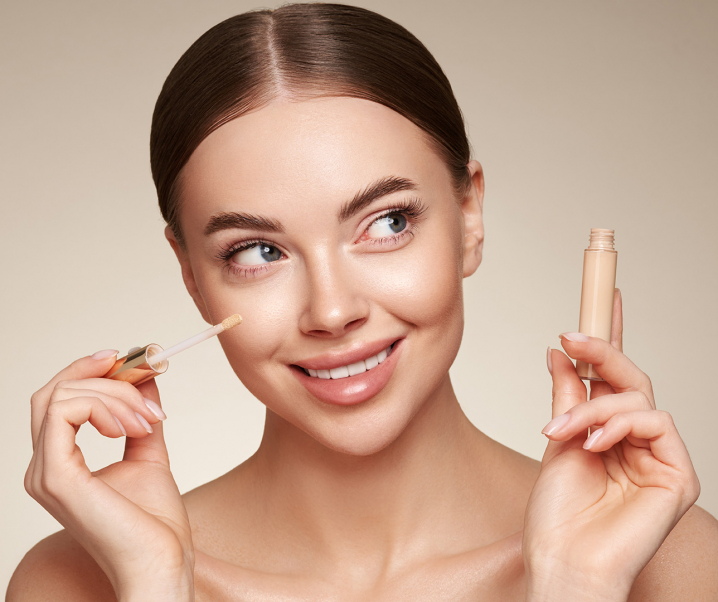
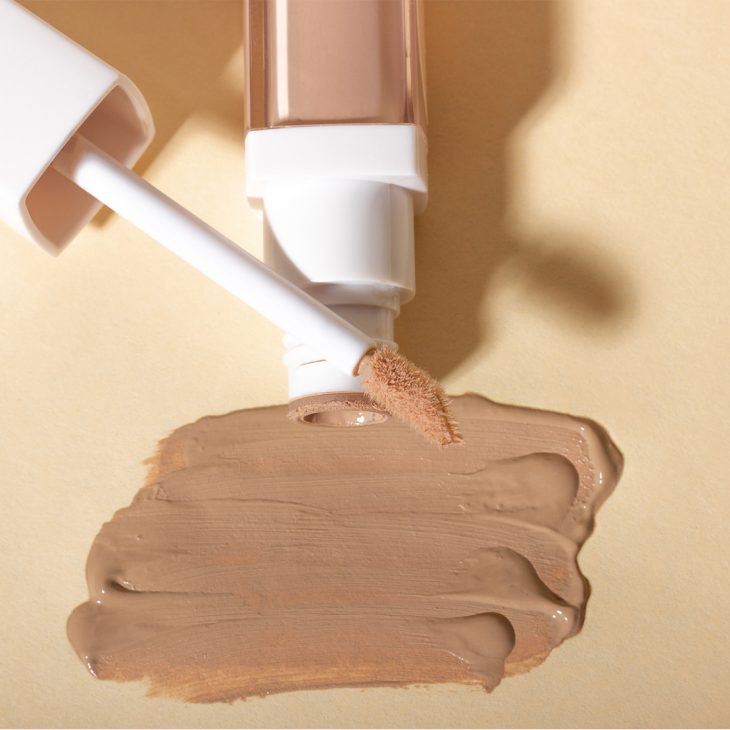
One of the biggest mistakes people make when doing photoshoots makeup is applying too much foundation or concealer. This can make your skin look heavy and unnatural, especially in photos. Instead of covering your entire face with a thick layer of product, use a light to medium-coverage foundation or concealer that matches your skin tone and blends seamlessly.
Apply foundation using a small amount and dot it on your forehead, cheeks, nose, and chin. Then blend it outwards with a brush, a sponge, or your fingers. For concealing, use a shade that is one or two shades lighter than your foundation and apply it only on the areas where you need more coverage, such as under the eyes, around the nose, or on any blemishes.
#4 Choose One Feature To Accentuate
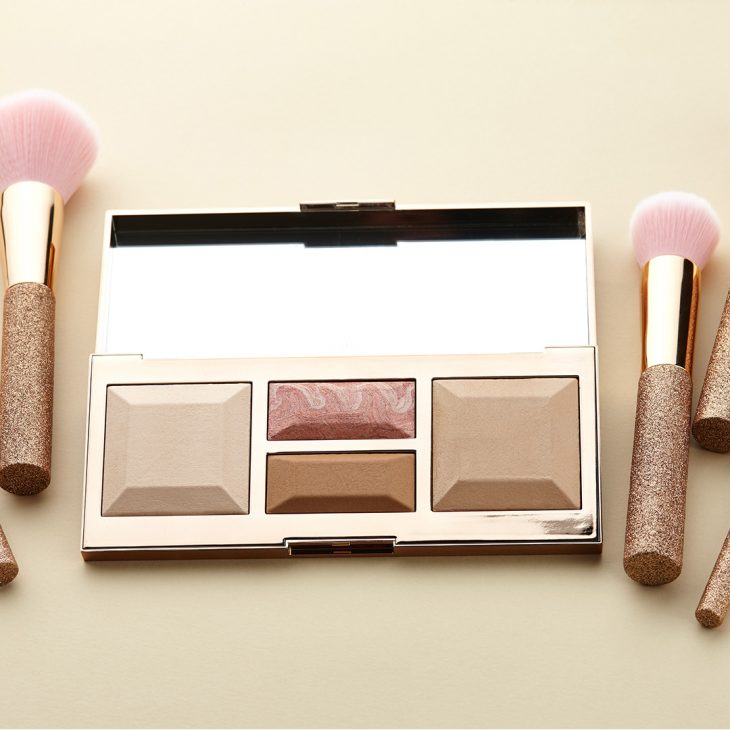
When doing photoshoot makeup, you want to create a balanced and harmonious look that enhances your natural beauty. That means you don’t want to overdo it with too many colours or products on your face. Instead, choose one feature to accentuate and keep the rest of your makeup simple and subtle.
For example, if you want to highlight your eyes, you can use eyeshadow, eyeliner, mascara, and false lashes to create a dramatic or smoky eye look. But then you should keep your lips and cheeks neutral with nude or pink lipstick and blush. Or if you want to highlight your lips, you can use bold or bright lipstick to make them pop. But then you should keep your eyes and cheeks soft with a light or neutral eyeshadow and blush. The idea is to create contrast and focus on one feature without overpowering the others.


#6 Groom Your Brows
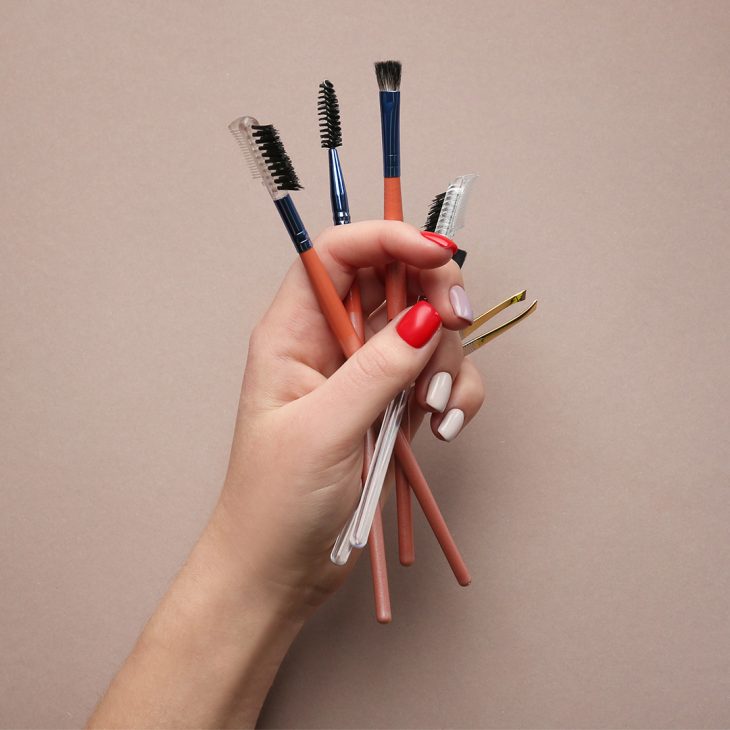
Your brows are one of the most important features of your face. They frame your eyes and define your expression. That’s why you should groom your brows when doing photoshoot makeup. You want to shape them according to your face shape and fill them in with a product that matches their natural colour.
To groom your brows, start by plucking any stray hairs with a pair of tweezers. Follow the natural shape of your brows and avoid over-plucking them. Then use a spoolie brush to comb them upwards and trim any long hairs with a pair of scissors. Next, use a brow pencil, powder, gel, or pomade to fill in any gaps or sparse areas in your brows. Use short strokes that mimic the direction of your hair growth and blend them well with a spoolie brush. To finish off, use a clear or tinted brow gel to set them in place and add some shine.

#7 Finish With Lipstick
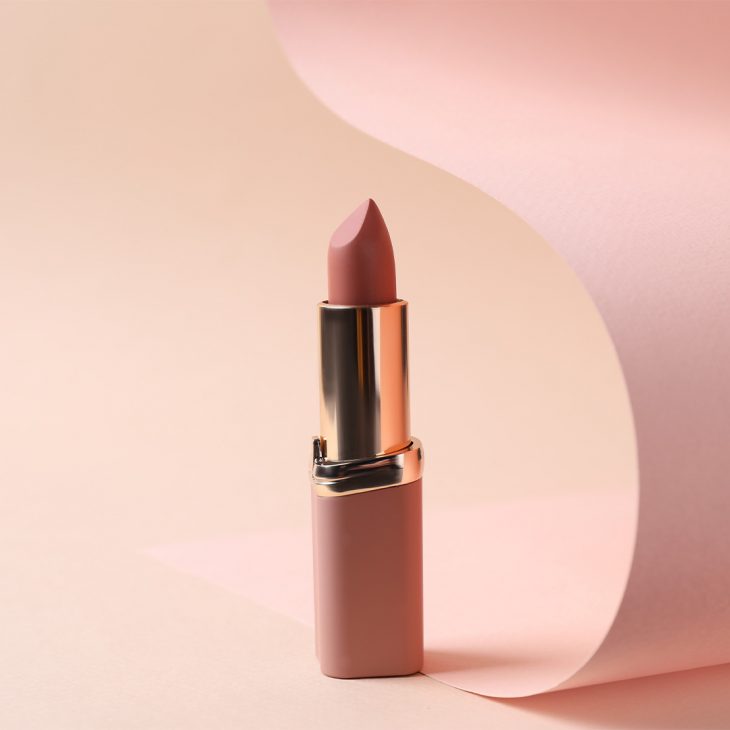
The last step to any photoshoot makeup look is applying lipstick. Lipstick adds colour and personality to your face. It can also make your teeth look whiter and brighter in photos. However, you don’t want to use lipstick that is too light or too dark for your skin tone or the lighting conditions. You also don’t want to use lipstick that is too glossy or too matte for your lip texture.
The best lipstick for photoshoot makeup is one that has a natural shade that is two shades darker than your own lip colour. This will make your lips look fuller and more defined in photos. You can also use a lip liner to outline your lips and prevent the lipstick from bleeding or feathering.

Wrapping Up
Whether you’re taking selfies, group shots, or professional portraits, these tips will help you achieve a flawless look that will get you tons of compliments! So bring out your makeup tools, and get ready for your Instagram to blow up!
FAQs
Q1. What is photoshoot makeup and why is it different from everyday makeup?
A: Photoshoot makeup is a type of makeup that is designed to look flawless in photos. It is different from everyday makeup because it has to account for factors like lighting, angles, and filters that can alter how your makeup looks on camera.
Q2. How can you choose the right colours and products for photoshoot makeup?
A: You can choose the right colours and products for photoshoot makeup by considering your skin tone, the lighting conditions, and the mood of the photo. Generally, you want to use colours that suit your skin tone and the lighting conditions, and products that have a matte or satin finish to avoid shine or glare.
Q3. How can you make your lips look fuller and more defined in photos?
A: You can make your lips look fuller and more defined in photos by using a lip liner and a lipstick that are two shades darker than your own lip colour. You can also slightly overline your lips to create more volume, but don’t go too far or it will look unnatural.

