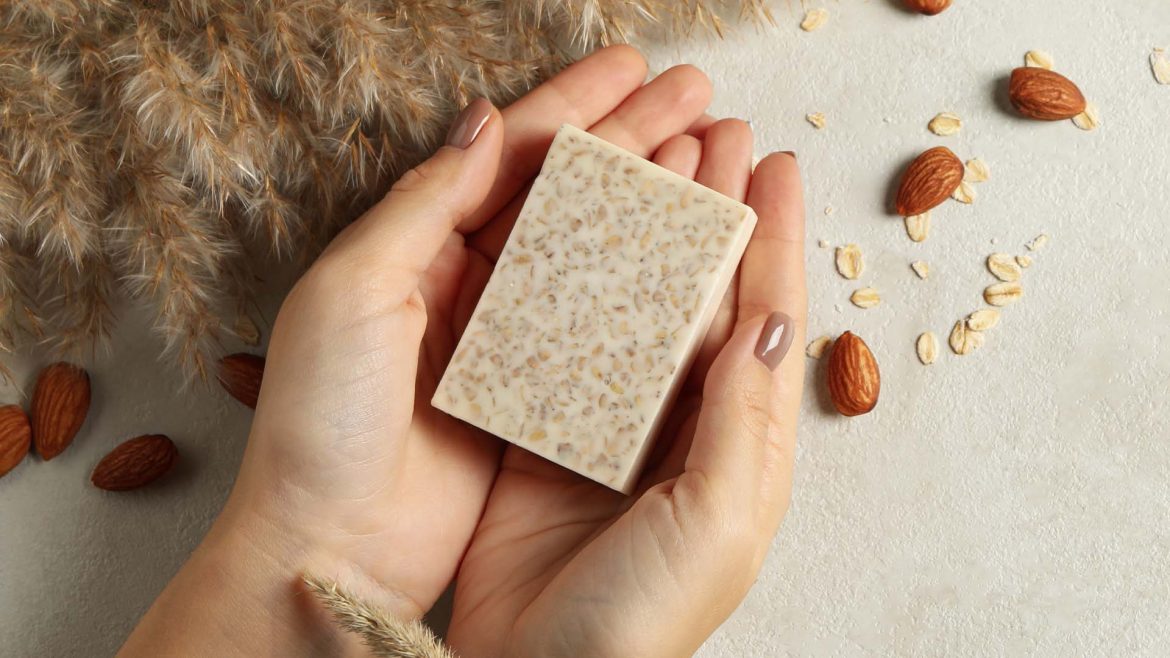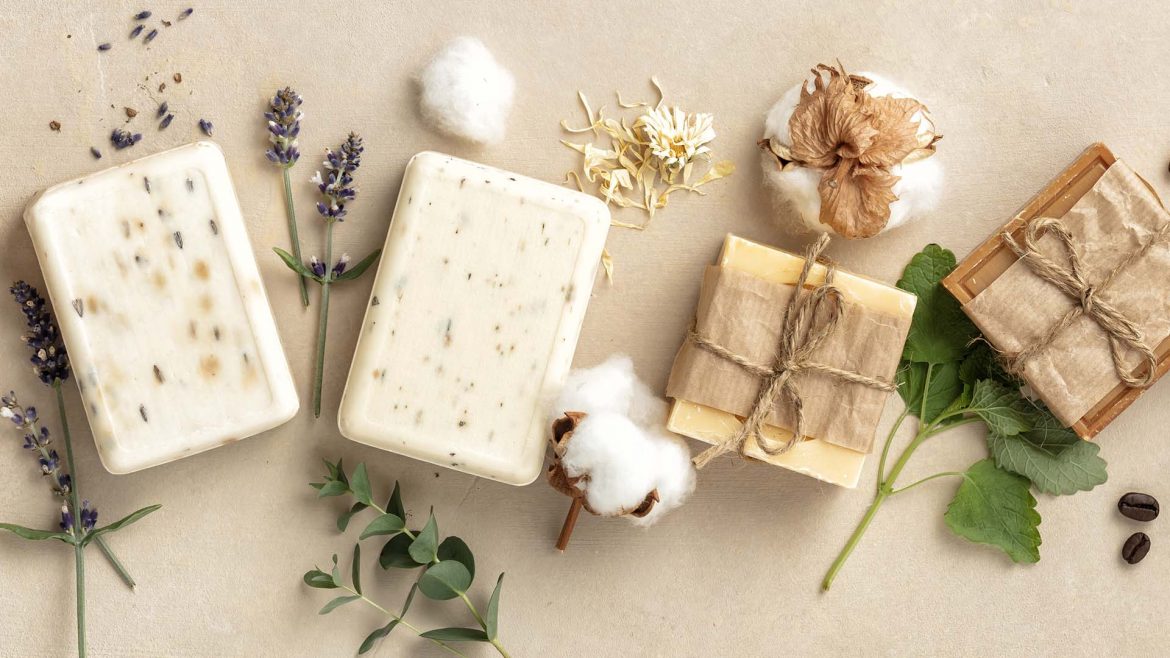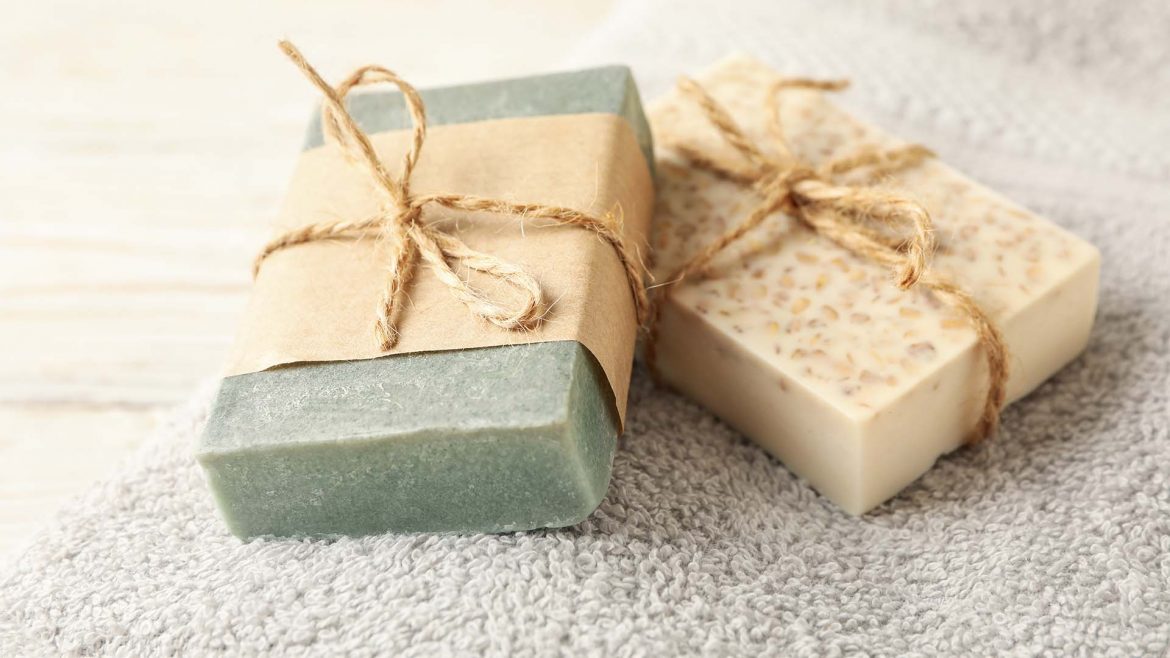
Making your own soap at home is a fun DIY project. It’s also a great way to control what goes into it—no more mystery chemicals! Whether you love bar soap, liquid soap, or handy paper soap for travel, you can make it all. And it’s easier than you’d think! Plus, there’s something so satisfying about using soap you’ve made yourself, especially when it smells like your favourite essential oils.
Here’s everything you need to know to whip up your own batch of skin-loving goodness!
Why Make Soap at Home?

The biggest perk of making your own soap is the ability to fully customise it. You can choose natural ingredients that suit your skin and skip the harsh chemicals often found in store-bought soaps. It’s also more eco-friendly, helping you cut down on plastic waste by using reusable moulds and sustainable packaging. Plus, soap-making is a fun, creative hobby that lets you produce high-quality products at a fraction of the cost of premium brands.
Basic Soap-Making Methods
Here are a few common methods you can try when making soap at home:
1. Cold Process
This traditional method involves mixing oils with lye. The soap then needs to cure (harden and dry) for 4-6 weeks. Though it takes longer, the results are fantastic.
2. Melt and Pour
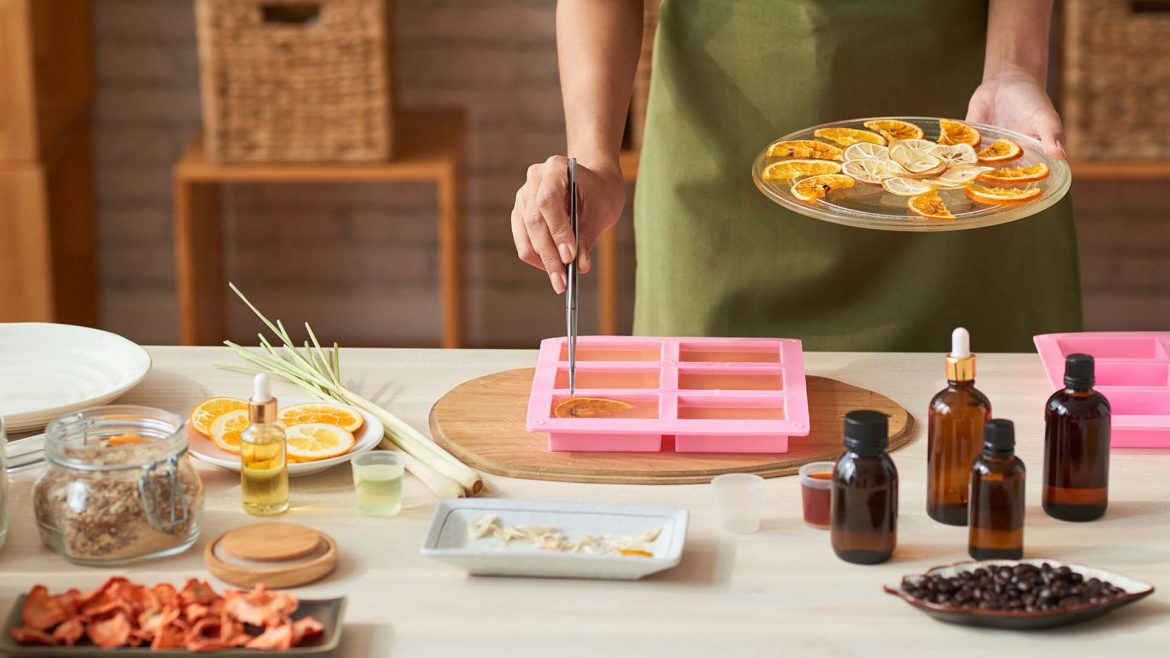
This is perfect for beginners. You simply melt a pre-made glycerine soap base, add your colours and fragrances, and pour it into moulds. It’s super quick and easy!
3. Hot Process
Similar to the cold process, but the soap is “cooked” (heated) to speed up the curing time. This means the soap is ready to use much faster.
4. Liquid Soap
A bit more advanced but still doable. You create a soap paste and then dilute it with water to achieve the liquid consistency.
For beginners, the melt and pour method is the easiest and quickest to try. If you’re feeling adventurous, we’ll also cover how to make paper soap for travel later in this guide.
Step-by-Step Guide: How to Make Soap at Home

Let’s start with a simple melt-and-pour recipe, perfect for beginners. You’ll be using a glycerine soap base to create your own skin-friendly soap!
Ingredients:
- 450 grams of glycerine soap base
- Natural colourants (e.g., turmeric for yellow, activated charcoal for black)
- Essential oils (e.g., lavender, peppermint, tea tree)
- Additives (optional, like dried herbs, oatmeal, or shea butter for extra nourishment)
- Soap moulds (silicone moulds work great as they make it easy to remove the soap)
Steps:
- Prepare Your Workspace
Make sure your work area is clean and dry. Gather all your ingredients and tools like a microwave-safe bowl and spatula. - Melt the Soap Base
Cut the 450 grams of glycerine soap base into small pieces. Place the pieces in a microwave-safe bowl and heat in 30-second intervals, stirring between each session, until fully melted. - Add Colour and Fragrance
Once the soap is melted, stir in your desired colourants and essential oils. If you’re adding extras like dried herbs or exfoliants, mix them in at this stage. - Pour into Moulds
Pour the soap mixture into your moulds. Lightly tap the moulds on the counter to remove any air bubbles. - Let It Set
Allow the soap to set at room temperature for several hours or until it’s fully hardened. Once it’s solid, carefully pop the soap out of the moulds. - Optional Curing
Although melt-and-pour soap doesn’t need to cure like cold-process soap, letting it sit for a few days can improve its hardness and make it last longer.
How to Make Liquid Soap at Home
If you prefer liquid soap, here’s a simple method to make it without lye.
Ingredients:
- 1 cup of liquid or grated Castile soap. (approximately 240 ml)
Castile soap is a natural soap made from vegetable oils, typically olive oil. - 3 cups of water (around 720 ml)
- Essential oils (optional, for fragrance)
- 1 tablespoon of glycerine (optional, for extra moisture)
Steps:
- Heat the Water
Start by boiling the water in a large pot. - Add Soap
Once the water is boiling, add the grated or liquid Castile soap and stir until completely dissolved. - Mix in Glycerine and Oils
If using, add glycerine for moisture and your choice of essential oils for fragrance. Stir well to combine everything. - Cool and Bottle
Remove the mixture from heat and let it cool down completely before pouring it into a container.
And there you go—your homemade liquid soap is ready to use!
How to Make Paper Soap for Travel

Paper soap is perfect for when you’re on the go and need something lightweight and portable. Here’s how you can make it at home.
Ingredients:
- Thin paper (like rice paper or tissue paper)
- Liquid soap
- A tray lined with parchment paper
- Scissors
Steps:
- Cut the Paper
Cut your paper into small, travel-friendly sheets. - Coat the Paper
Place the paper sheets on a tray lined with parchment paper. Use a brush to apply a thin layer of liquid soap to each piece. - Let It Dry
Allow the coated sheets to dry completely. This could take several hours or overnight, depending on the thickness of the soap layer. - Store the Paper
Once dry, stack the sheets and store them in a small container or resealable bag for easy access.
Now you have homemade paper soap that’s easy to carry wherever you go!
Conclusion
Now that you know how to make soap at home, you can experiment with different ingredients and methods to suit your needs. Whether it’s bar soap, liquid soap, or paper soap, the process is simple, fun, and rewarding. Plus, you’ll be using natural ingredients that are better for your skin and the environment.
Happy soap-making!


