Do you love the look of a fresh manicure with a touch of artistic flair, but the salon feels like a splurge? Don’t worry! With a few basic polishes and a little creativity, you can achieve stunning nail art designs right at home.
This guide will walk you through 5 simple, easy nail art designs that are perfect for beginners and seasoned polish pros alike. So grab your favourite colours, settle in, and get ready to transform your fingertips into mini masterpieces!
#1 Multi-Coloured Stripes
Multi-coloured stripes are a fun and funky way to jazz up your nails. This nail paint art design adds fun to your fingertips and is easy to achieve. The best part? You only need a handful of vibrant nail polishes and a striping brush.

Steps:
- Choose two or three different nail polish colours that you love.
- Start by applying a base coat to protect your nails and let it dry completely.
- Grab your striping brush, dip it into your first colour, and paint horizontal stripes across each nail.
- Carefully draw thin stripes across your nails in whatever pattern you like. Don’t worry about making them perfectly straight – a little wonkiness adds to the charm!
- Repeat the process with your other colours until your nails look bright and beautiful.
- Let the polish dry completely before applying a top coat to seal in the design and add extra shine.
#2 Floral Nails
These gorgeous floral nail art designs bring a touch of spring to your fingertips. Perfect for any occasion, from a casual day out to a special event, these flowery, easy nail designs will instantly brighten up your day.

Steps:
- Choose two contrasting colours for your flowers and background.
- First, paint your nails with a base colour. Something light and neutral works best for this design.
- Once your base colour is dry, use a fine-tipped brush to create small dots of one colour in a circular shape on your nails to form the flower petals. You can choose any colours you like for your flowers – the more vibrant, the better!
- Once it is dry, use a different colour to add some leaves and stems to your flowers to give them that extra botanical flair.
- Finish off with a coat of clear polish to keep your floral, simple nail polish design looking fresh.
#3 Starry Details
If you’re a fan of celestial things, these simple nail paint designs will surely be a hit! Starry details are a simple yet striking way to elevate your manicure to heavenly heights.

Steps:
- Paint your nails with a dark, starry-night-inspired base colour. Think deep blues or purples for that perfect midnight sky.
- Once your base colour is dry, use a fine-tipped brush to add tiny white dots to your nails. These will be your stars, so scatter them across your nails in random patterns.
- Add a few larger stars using silver or gold nail polish for an extra magic touch.
- Seal in your stellar design with a clear topcoat and prepare to dazzle the universe with your celestial fingertips.
#4 Two-Toned Nails
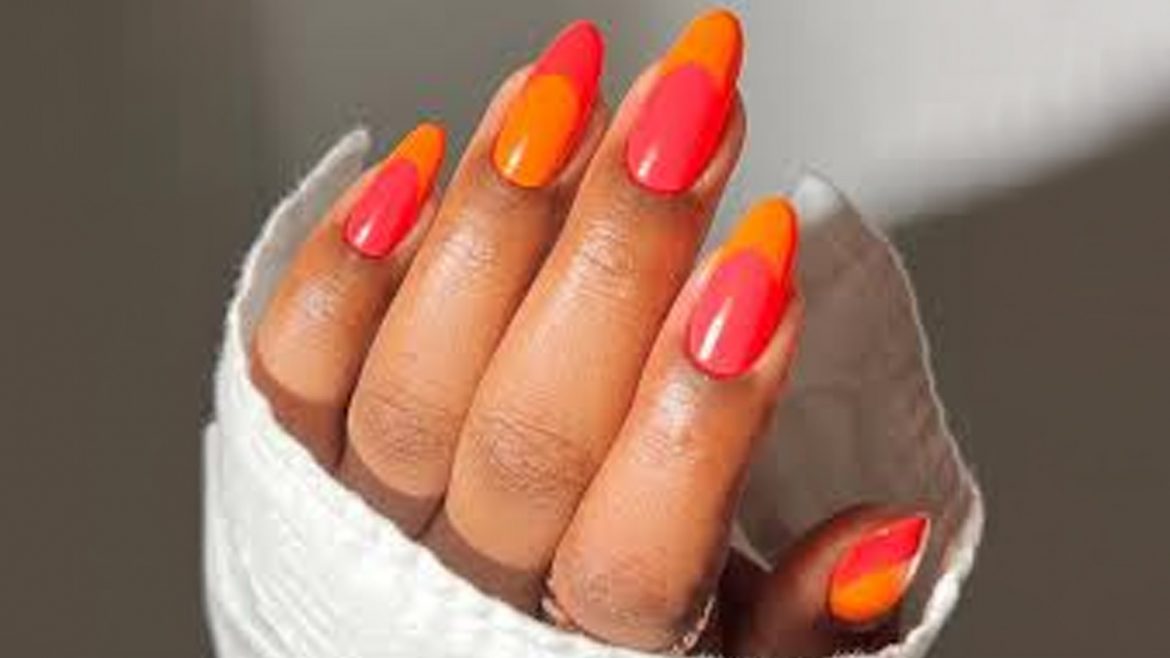
Why stick to only one colour when you can use two? Two-toned nails are a chic and basic nail art design for anyone looking to up their nail game with minimal effort.

Steps:
- Paint your nails with the base colour of your choice and let them dry.
- Once your base colour is dry, use striping tape to create clean lines across your nails. This will help you achieve that perfect two-toned look.
- Carefully paint over the exposed areas with your second colour. Peel off the striping tape while the polish is wet to reveal your flawless two-toned nails.
- Finish off with a clear topcoat to add shine and longevity to your fabulous design.
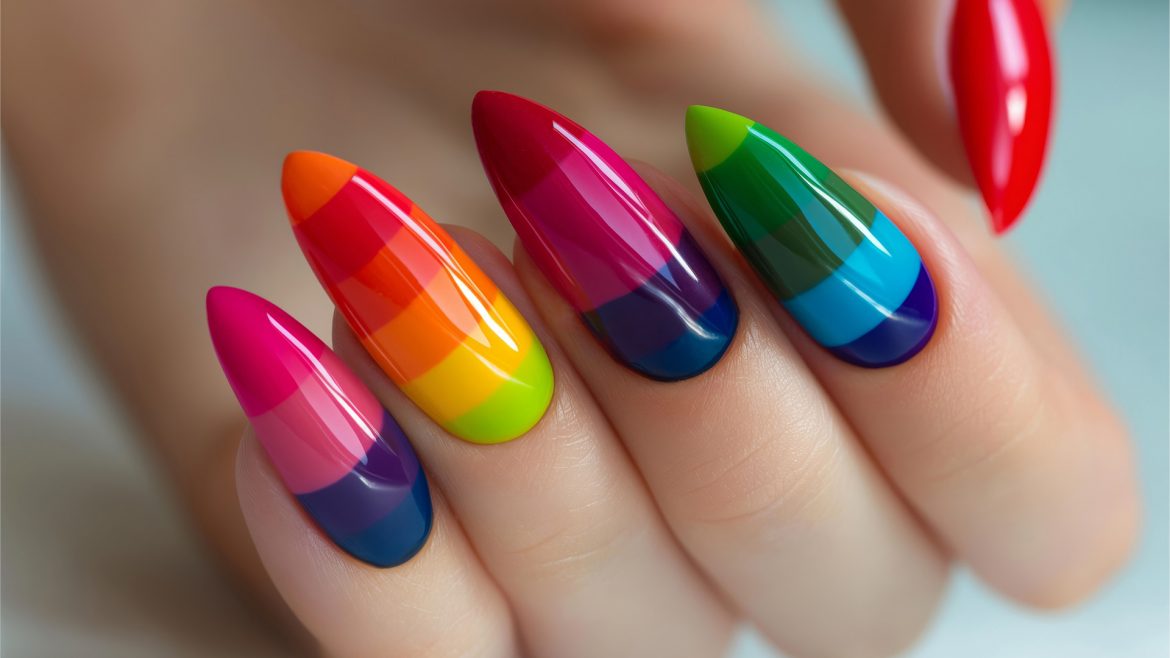
#5 Rainbow Tips
Last but certainly not least, rainbow tips. Who doesn’t love a good rainbow? This playful basic nail art design will surely give your mood a lift whenever you look at your fingertips.

Steps:
- Start by painting your nails with a clear base coat to protect them and help your colours pop.
- Next, choose a rainbow of nail polish colours – red, orange, yellow, green, blue, and purple.
- Paint your nails a different colour, starting from the tip and working your way down towards the base.
- If you’re feeling extra fancy, add glitter or sparkles to your rainbow tips for that extra magic touch.
- Finish off with a clear topcoat to seal in your rainbow goodness.
Conclusion
That’s all – five simple, easy nail art designs you can try at home today! Whether a nail art novice or a seasoned pro, these easy designs will surely add fun and flair to your fingertips. Pick up your nail polish and let your imagination run wild – there’s no limit to what you can do!


